First, let’s be clear. Always follow your artist’s instructions. Not only during aftercare, but before your session as well.
This guide is based on real patterns and experience. It’s here to support you if you don’t have clear guidance. Your artist decides what’s right for your tattoo. This simply helps you understand the why.
To properly prepare for a tattoo, you must synchronise your body’s physiological state with your skin’s surface health. Professional preparation involves a 24-hour blackout on vasodilators like alcohol and aspirin, a high-protein meal to prevent vasovagal syncope (fainting), and aggressive systemic hydration to ensure the dermis is supple and receptive to pigment.
Arriving with a rested nervous system and sun-protected skin is the primary factor in minimising pain and maximising ink saturation. This guide outlines the clinical and logistical standards required for a successful session.
1. Professional Standards and Studio Hygiene
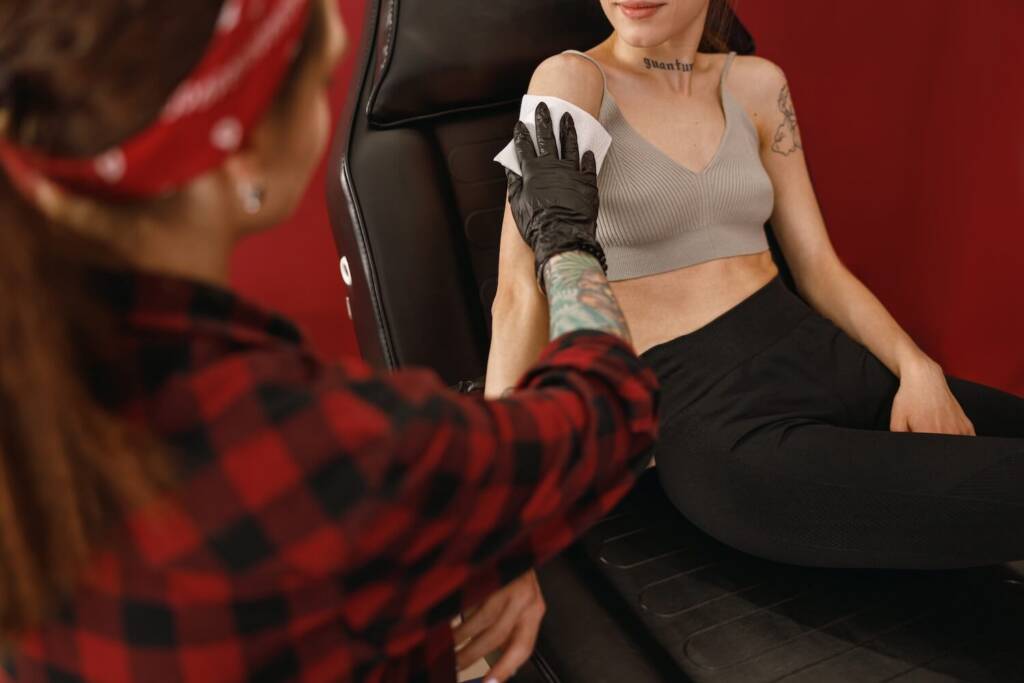
Preparing for a tattoo begins long before you enter the studio. Because tattooing involves breaking the skin barrier, it must be treated with the same scrutiny as a minor medical procedure. Researching a studio’s hygiene standards is the most critical step in preventing secondary infections.
Evaluating Clinical Hygiene Standards
A clean studio is about the rigorous management of bloodborne pathogens (BBPs). When researching an artist, look for these non-negotiable safety markers:
- Single-Use Cartridges: Ensure the artist uses pre-sterilised, single-use needle cartridges opened from EO Gas (Ethylene Oxide) sterilisation pouches in your presence.
- Barrier Protection: All high-touch surfaces (machines, power supplies, furniture) must be covered in fresh plastic barriers or “dental bibs” for every client.
- Licensing: A reputable artist must hold a valid local health department permit. Subject to country and region legislation.
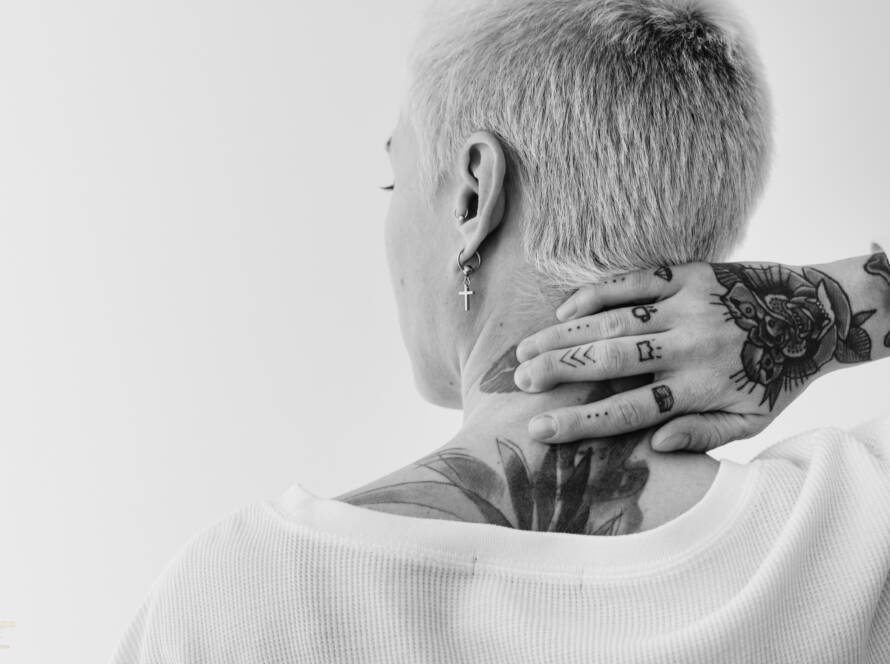
2. Dermal Preparation: The "Canvas" Rules
Your skin’s condition directly impacts how easily the needle penetrates and how well the pigment settles.
- The Shaving Protocol: Do not shave the area yourself within 24 hours of your appointment. DIY shaving can cause micro-abrasions, razor burn, or ingrown hairs that increase infection risk. Your artist will perform a professional prep-shave using a sterile, single-use razor.
- Sun Exposure: Never tattoo over sun-damaged or peeling skin. UV exposure triggers an immune response that makes the skin hypersensitive and prone to pigment rejection.
- Hydration: Start “internal” skin prep 5 days prior by increasing water intake. A hydrated dermis is more elastic, allowing for smoother ink entry and faster recovery.
3. The 48-Hour Biological Countdown
The success of a tattoo session is determined by your body’s internal chemistry. High-performance artists prefer clients who have optimized their blood density and nervous system.
24-48 Hours Before: Managing Blood Density
To ensure a better experience and results, avoid substances that act as anticoagulants or vasodilators.
- Eliminate Alcohol: Alcohol is a potent vasodilator that thins the blood. Excess bleeding (or “weeping”) during a session can push ink back out of the punctures, leading to patchy results.
- Audit Supplements: Avoid high-dose Fish Oil, Vitamin E, and Aspirin, as these increase bleeding risk.
- Clinical Note: If you are on prescribed blood thinners, consult your clinician before making changes. Simply inform your artist so they can adjust their technique.
The Night Before: Priming the Nervous System
Pain management is an executive function of the brain. If you arrive fatigued, your cortisol levels are elevated, making your nervous system hypersensitive. Aim for a full 7-9 hour sleep cycle to help your body recover from the inflammatory stress of the session.
The Day Of: Metabolic Stability
Tattooing triggers a “fight or flight” response, which can cause a drop in blood glucose.
- The Pre-Session Meal: Consume a balanced meal (complex carbohydrates and protein) 1-2 hours before your appointment to prevent vasovagal syncope (fainting).
- The Long-Session Snack: For appointments exceeding three hours, bring high-glucose snacks like bananas or granola bars to maintain stamina.
4. Proactive Recovery: Setting Your "Healing Station"
Aftercare starts before the ink. Preparing your environment during the inflammatory phase (the first 48-72 hours) helps prevent pigment loss and scarring. Secure these supplies before your appointment:
- pH-Balanced Cleansers: Secure a fragrance-free, antimicrobial liquid soap. Avoid bar soaps, which can harbour bacteria.
- Medical-Grade Surface Barriers: Use high-quality paper towels rather than cloth towels to pat the area dry. Cloth towels harbor bacteria and shed microscopic fibers that can become “healed” into the wound.
- The “Clean Sheet” Protocol: Freshly laundered, breathable cotton sheets reduce the risk of overnight infection and prevent the tattoo from sticking to abrasive fabrics.
- Loose Clothing: Have moisture-wicking, loose garments ready. Tight elastic bands can create friction burns on the new dermis, leading to “ink fallout.”
Free on iOS & AndroidTattoo Healer App
Take the Guesswork Out of Your Recovery! The first days of healing are the most critical. To help you navigate this period with total confidence, we developed the Tattoo Healer App, your digital aftercare guide.
5. Medical Considerations and Clinical "Red Flags"
If you have a history of skin sensitivities or chronic health conditions, your preparation starts with a medical consultation. This needs to be discussed with your artist before your appointment. This gives them time to plan and prepare accordingly if needed.
- Allergic Reactions: If you have metal allergies (nickel/cobalt), request the Material Safety Data Sheet (MSDS) from your artist to review the ink’s chemical composition with an allergist.
- The Koebner Phenomenon: If you have Psoriasis or Eczema, be aware that skin trauma can trigger a flare-up exactly where the ink is placed. Never tattoo near an active flare-up.
- Keloid History: If you are prone to raised scarring, consult a dermatologist. A skilled artist may need to use a “fine line” touch to minimize dermal trauma.
Distinguishing Normal Healing from Infection
Symptom | Normal Healing | Potential Infection |
Redness | Light pink, subsides in 48 hours | Deep red, spreading “streaks” |
Temperature | Slightly warm to the touch | Radiating heat or systemic fever |
Discharge | Clear plasma or excess ink | Thick yellow/green pus or foul odour |
Pain | Dull “sunburn” sensation | Throbbing, worsening, sharp pain |
Final Perspective: Mastering the Journey
Successful tattooing is a collaboration between the artist’s technical execution and the client’s physiological readiness.
By arriving at the studio with a hydrated dermis, a stabilized nervous system, and a clear understanding of clinical safety standards, you provide the “perfect canvas” required for high-precision art.
Preparation does not end when you sit in the chair; it is an ongoing commitment that transitions from pre-session protocols to a rigorous aftercare routine.
By respecting the biological demands of the healing process and using structured tools like the TattooHealer app, healthy healing rates and overall healed results increase significantly.
A well-applied tattoo, combined with consistent aftercare and clear guidance, is the foundation of strong healed outcomes.